I've been working on a package manager for Delphi for a long time. I hit a roadblock and life got in the way and I couldn't find the time (or the motivation if I am honest) to work on it. I was using it every day, but it wasn't really usable for the masses. That was until recently..
Design time packages
That roadblock I hit was loading design time packages (bpl's). The early design decision to create separate dpm package files per compilerversion/platform made it really difficult to control which design time packages to load/unload and to get the order correct - failing to do so resulted in an unstable IDE at best.
Late last year I started on a redesign, using a single package file per compiler version. This simplified the design time bpl install story considerably. I've been chipping away at this redesign for a while now, adding a bunch of features along the way and completely rewriting the package server.
Note that this version is incompatible with the previously published Alpha releases - hopefully there will not be any more breaking changes.
What works
DPM is pretty much feature complete (for an initial release)
- Creating packages (library authors)
- Pushing packages to a package repository (directory or server)
- Public package repository
- Installing and Restoring packages, including dependencies and design time components.
- Multiple package sources
- Package Signing - both Author (code signing certificate) and Repository signing (automatic during upload).
- Repository and Author Trust. You can decide which authors and repositories to trust.
- SBOM generation - both CycloneDX and SPDX output formats.
- Vulerability scanning via SBOM and osv.dev
- CLI and IDE plugin.
- Extensive documentation (still a work in progress but there is a lot there).
Supported Delphi Versions
Delphi XE2 to 13.1
I decided a long time ago that I wanted to support as many Delphi versions as possible - the idea being that DPM might make it easier for users to upgrade eventually. It's not easy - I'm constantly writing code that works on one version and doesn't on another. If DPM were just a CLI tool or a standalone UI tool, we could of course go back much further, but since the CLI and the IDE plugins share the core code, supporting versions earlier than XE2 became too difficult - either a lack of generics or generics bugs (of which there were plenty in early versions). My view is that those who are still using Delphi 7 are never going to upgrade, they are already happy with their lot and no likely to use DPM anyway!
What about C++ Builder and FPC/Lazarus
I would love to see support for both C++Builder and Lazarus - but simply do not have the time or expertise to tackle them myself - open to contributions - see Contributing before making a start on it!
How do I use it?
Download and install the client from github - The installer allows you to install for the current user, or for all users (requires elevation to install). It installs both the CLI and the IDE plugins for the versions of RAD Studio you have installed.
Once a project is loaded in the IDE, you can access the DPM editor view via the Project tree (right click on a project or project group, Manage DPM Packages), or via the Project menu. There is also a toolbar button you can add to your toolbar.
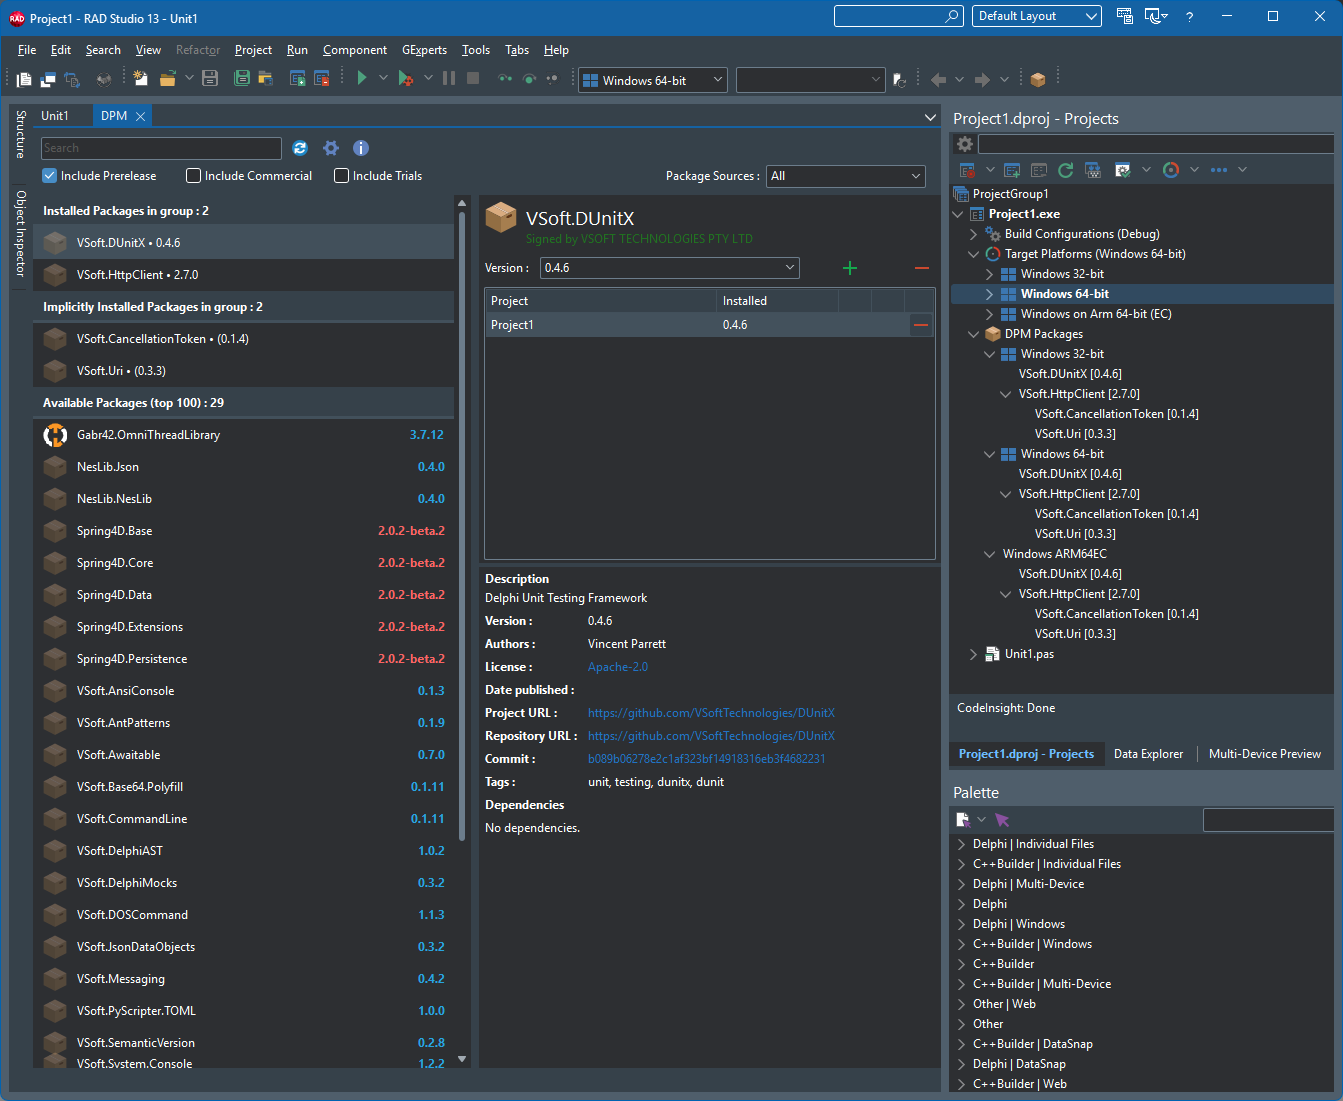
The DPM editor view presents a list of available packages, click on one to highlight it, then at the top right you can click on the [+] button to install the package. You can choose the version to install, and whether to install it for all projects in the group, or just specific projects. DPM will download the package and any of it's dependent packages, build them (in the correct order) and add them to your project's Search Path - ready to use. If the package has any design time components, those are loaded into the IDE at the same time. The next time you open the project, the DPM Restore process will run, ensuring that any referenced packages are installed, if any are missing (like for example when you open the project on another machine) - it will automatically download and install them.
You can filter, search the package list to find packages you want (of course there are not many packages available yet) - by default pre-release packages are not shown, check on the pre-release option to show them.
When newer versions of packages become available, you can upgrade them in the IDE - the upgrade button will show when you select a package with an upgrade available.
New Features
As part of this overhaul, we added a few new features
Package Signing
Package signing provides a mechanism for ensure package Integrity, Authenticity and Provenance.
Package authors can (optionally) sign their packages with a Code Signing Certificate, by using the `dpm sign` command after packing - using a pfx file (although those are rare these days), using a usb token (will prompt for pin/password) or using Signotaur (with v2 coming soon) or Azure Key Vault (untested at this stage).
The public package repository also signs the package when it is uploaded, if an Author Signature is present then it is referenced by Repository Signature that is added to the package.
If some opens the package locally (it's a zip file) and adds or removes files, then that will invalidate the signature(s). If someone removes the signatures - then that package's authenticity, integrity and provenance is no longer assured.
Author and Repository Trust
On the client side, you can add Authors and Repositories to a trust list. By default the public repository is trusted.
Signature Downgrade Protection
DPM remembers whether a package was previously signed. If a later version of the same package shows up unsigned, that is suspicious - either an attacker is trying to substitute a malicious package, or the publisher has lost their signing key. The default setting on the client for this is prompt - the user will be prompted to continue installing the package.
The package server also adds signing downgrade protection. If the author uploads an unsigned package that was previously signed in earlier versions, that upload will fail. The author can of course acknowledge the downgrade on the server and re-upload the package.
Whilst Package Signing and Author/Repository Trust will not stop all supply chain attacks from happening, it is at least a small part of the solution. We would welcome suggestions on where this can be improved
Software Bill of Materials (SBOM) Generation
The `dpm sbom` command will generate an SBOM for a project or project group - both CycloneDX and SPDX formats are supported. An HTML report is also produced for human consumption.
Vulnerability scanning
The `dpm scan [options]` command will scan either a CycloneDX SBOM or a project/projectgroup and check it against the Open Source Vulnerabilities database at https://osv.dev
Organisations
On some projects, more than one person might be allowed to publish packages. For this reason you can create an Organisation, and invite other users to join. This then allows them to publish under that organisation's name. It also makes life easier when a new maintainer takes over a project (just add them to the organisation).
We have created organisations for some projects already, with the view that when the original project maintainers get on board with dpm (we hope) we can add them to the organisation and allow them to take control over it.
Reserved Prefixes
This is a server side feature that allows us to protect against people publishing packages that look as though they might come from another user. As an example, we publish our packages with the prefix VSoft.
e.g VSoft.DUnitX, VSoft.AnsiConsole
With the the reserved prefix no one else can publish a package with the prefix VSoft.
They can of course publish their version of DUnitX with a different prefix - e.g MyUser.DUnitX
We have added reserved prefixes for a bunch of well known libraries/authors - if you are one and get an error when trying to publish packages then contact us so we can assign the prefix to you. Our hope with this feature (and us preemptively adding well known prefixes) is that it will cut down on package name squatting.
Creating Packages
You might want to create packages if :
- You have a library you want to share publicly or privately
- You have a third party vendor libraries you want to standardize for internal use
Note that we do allow the publishing of commercial and trial/evaluation packages, provided they are flagged as such in their dspec.yaml
The process is the same for both, only the publishing part is different.
The first step is to create a package spec yaml file that defines the package and what it contains - e.g MyOrg.MyLibrary.dspec.yaml
You can point the `dpm spec` command at your source folder, and it will attempt to scaffold a package spec file for you. It won't be usable immediately - but it will give you a head start.
Once your dspec.yaml file is fully defined, use the `dpm pack MyOrg.MyLibrary.dspec.yaml -o=c:\mypackagesfolder` command to create the package files. The output be a .dpkg file for each compiler version your package supports.
The next step (optional) is to sign the .dpkg files using a code signing certificate/
Test the package locally to make sure it installs correctly. To do this, create a package source (`dpm sources add` command or from the IDE options) that points to your package output folder (the one you used in with pack command).
If it fails, fix the dspec, pack it again, remove the package folder from the package cache (e.g `dpm cache remove MyOrg.MyLibrary -c 13.0 --version 1.2.0`) and try again.
The final step is to publish the package - this is done using the `dpm push` command.
If you are creating packages for internal use, you can just copy the files into the shared directory, however it is better to use the dpm push command - this speeds up usage of that directory as a package source (it extracts the icon, spec and writes the hash).
If you are creating packages to share on delphi.dev then you need to follow a few steps.
- 1) Register on delphi.dev, enable 2 factor authentication.
- 2) Optionally create an Organisation (useful if you have a team creating/managing packages.)
- 3) If you signed your packages - register the public key on your account under "signing keys" (or org signing keys for an organisation).
- 4) Create an API Key - specify the package owner (yourself or your organisation)
With that done, use the `dpm push -source=dpm` command to push your packages to the dpm server.
If all goes well, the packages will show up in the dpm clients and website in a few minutes. They do first undergo some validation, virus scanning, repository signing before they are uploaded to the cloud storage.
Infrastructure
The delphi.dev site is hosted on our servers in Sydney, Australia. The site runs on a Proxmox virtual machine (linux) in a few docker containers, managed by Dokploy. It uses a Postgresql DB (also in a container) and ClamAV (again in a container). The site is behind CloudFlare - with aggressive caching - we hope that will offset the latency that hosting downunder causes for the rest of the world. If this project garners enough support and donations (which we will enable at some point) to afford hosting elsewhere - we can quite easily move to a host somewhere more central (where most of the user are).
The package files themselves are stored on CloudFlare R2 storage (US East) - which also does caching - the more people use dpm the faster downloading packages will become.
DPM Clients also cache downloaded packages, so it avoids downloading package files every time you use a package on another project.
Is it finished?
Is any software ever really finished or perfect? DPM is currently in BETA, that means it's mostly feature complete - we're still tinkering around the edges, fixing bugs and improving performance - but it's relatively stable. We're using it here for FinalBuilder and Automise and on our CI servers. I encourage all Delphi developers to give it a go. I especially encourage library authors to take a look and consider creating packages for their libraries.
DPM won't work for everyone or every project or every organisation - but it should work for most. One thing to note, DPM makes minimal (and easily removed) changes to your dproj files, and it will work alongside any third party libraries you already have installed.
As always, feedback is welcomed.